Making a Custom Travel Adapter for My Walkman
Although the Sony NW-A45 is a relatively new device (released in 2016), at its release, Sony still had yet to figure out that USB-C was the way of the future. Instead, it shipped with the long-standing proprietary Sony WM-PORT connector. It’s used for charging, data transfer, and more. Last year, I went on a week-long trip with the device, but decided against bringing a WM-PORT to USB cable, since I’d likely not consume the battery’s charge in that time. I was correct, and I was just fine without the charger. However, it made me realize that I’d much rather have a WM-PORT to microUSB or USB-C dongle as opposed to a WM-PORT to USB cable when going on longer trips. It feels a bit silly to carry a whole cable with you if you’re only going to use it once a week or so. I quickly found the now discontinued Sony WMP-NWM10, which is exactly what I was looking for to solve this problem. However, I suppose audiophiles will be audiophiles… As of late 2021, this connector that had an MSRP of ~$12 was selling for more than $100 on ebay.
As noted on /r/sony, knock-off WM-PORT to USB-A cables are cheap. They’re the same connector as the WMP-NWM10, just with a different gender/specification on the USB end. I just so happened to have a few WM-PORT to USB-A cables lying around, so I decided to mock up my own travel adapter. But to get with the times, it has USB-C on the USB end. If you’re interested in making your own travel adapter, I’ll leave specifics on what I used at the end of this post.
So in case you’re wondering what a cheap WM-PORT to USB-A cable looks like, here’s one:
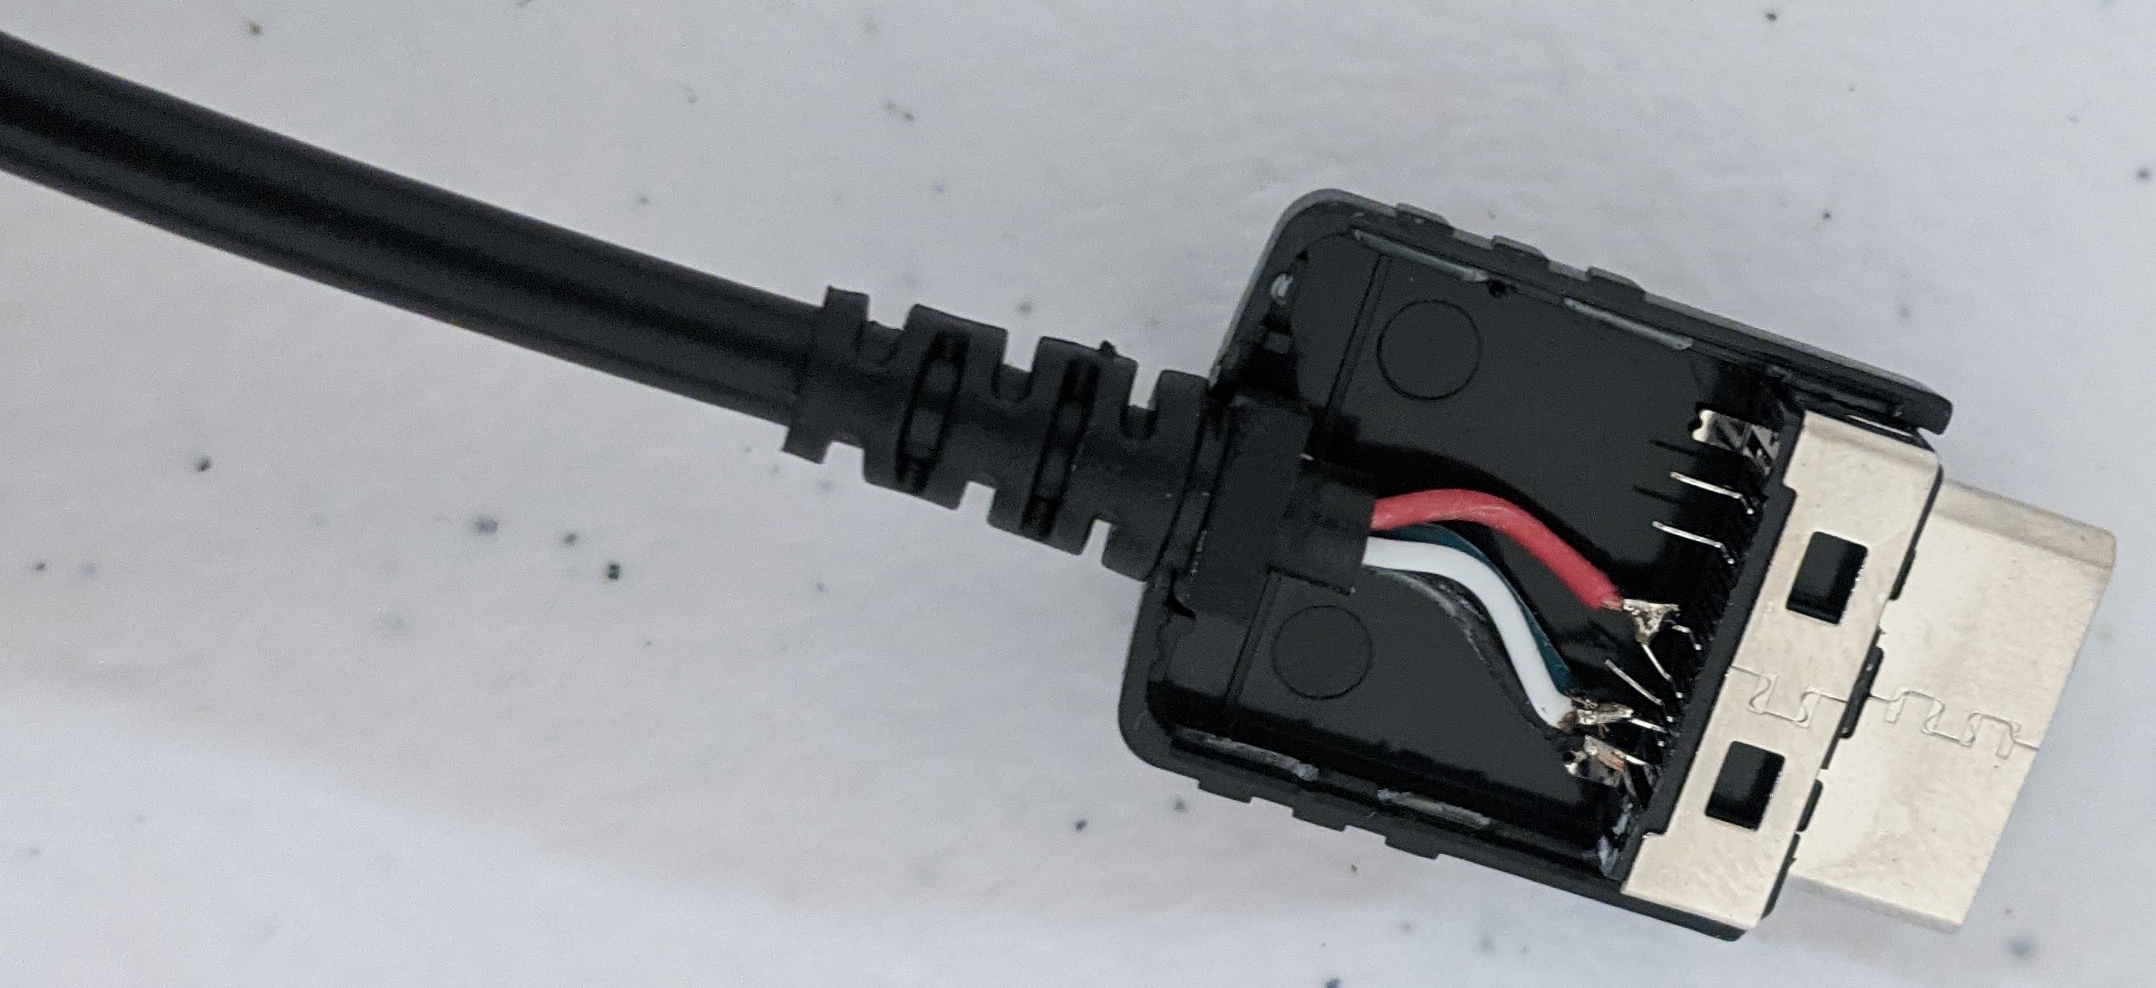
Although I want to be quick to call out the soldering, I certainly wasn’t up to the task of re-soldering those connections by hand. Another thing that’s worth calling out is how easy it would be for a few of the pins to short. When the cable was in a single piece, the strain relief would (hopefully) prevent that from occurring. But where we’re going, we don’t need strain relief.
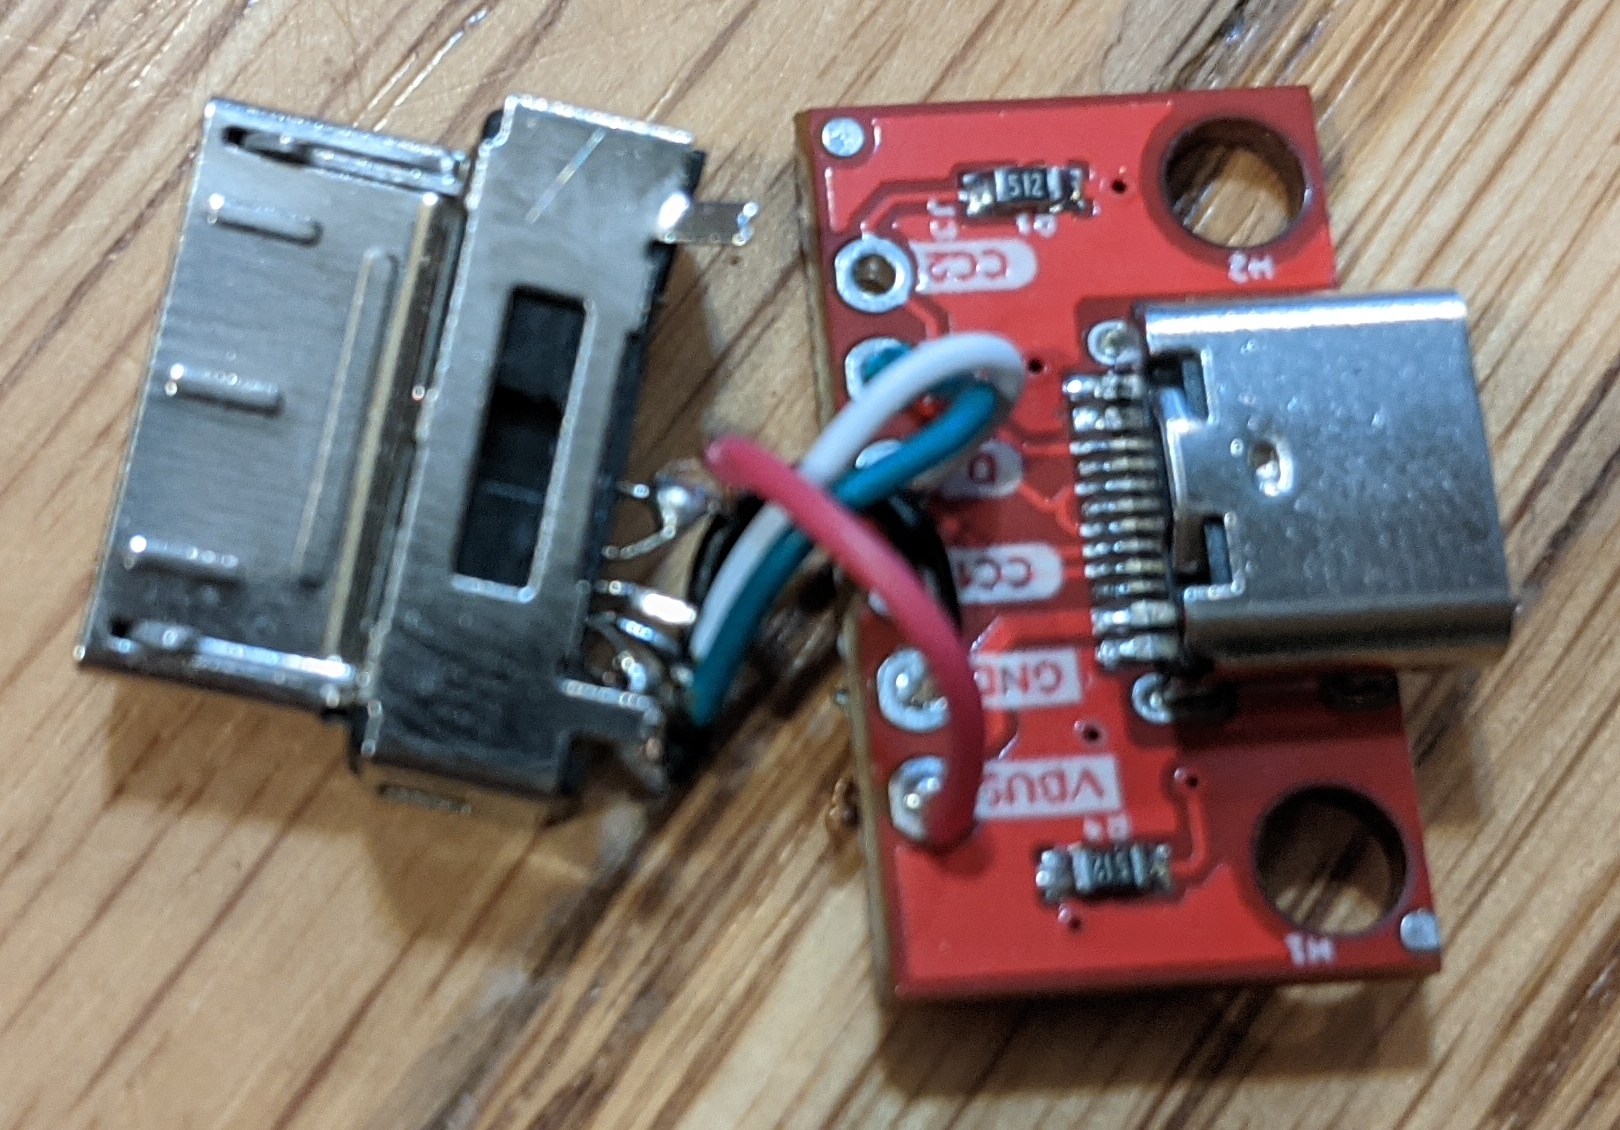
I stripped the cable and cut the individual wires to the shortest length I was comfortable with. I then soldered them to the USB-C breakout board. Enjoy a horribly out of focus photo of the mess.
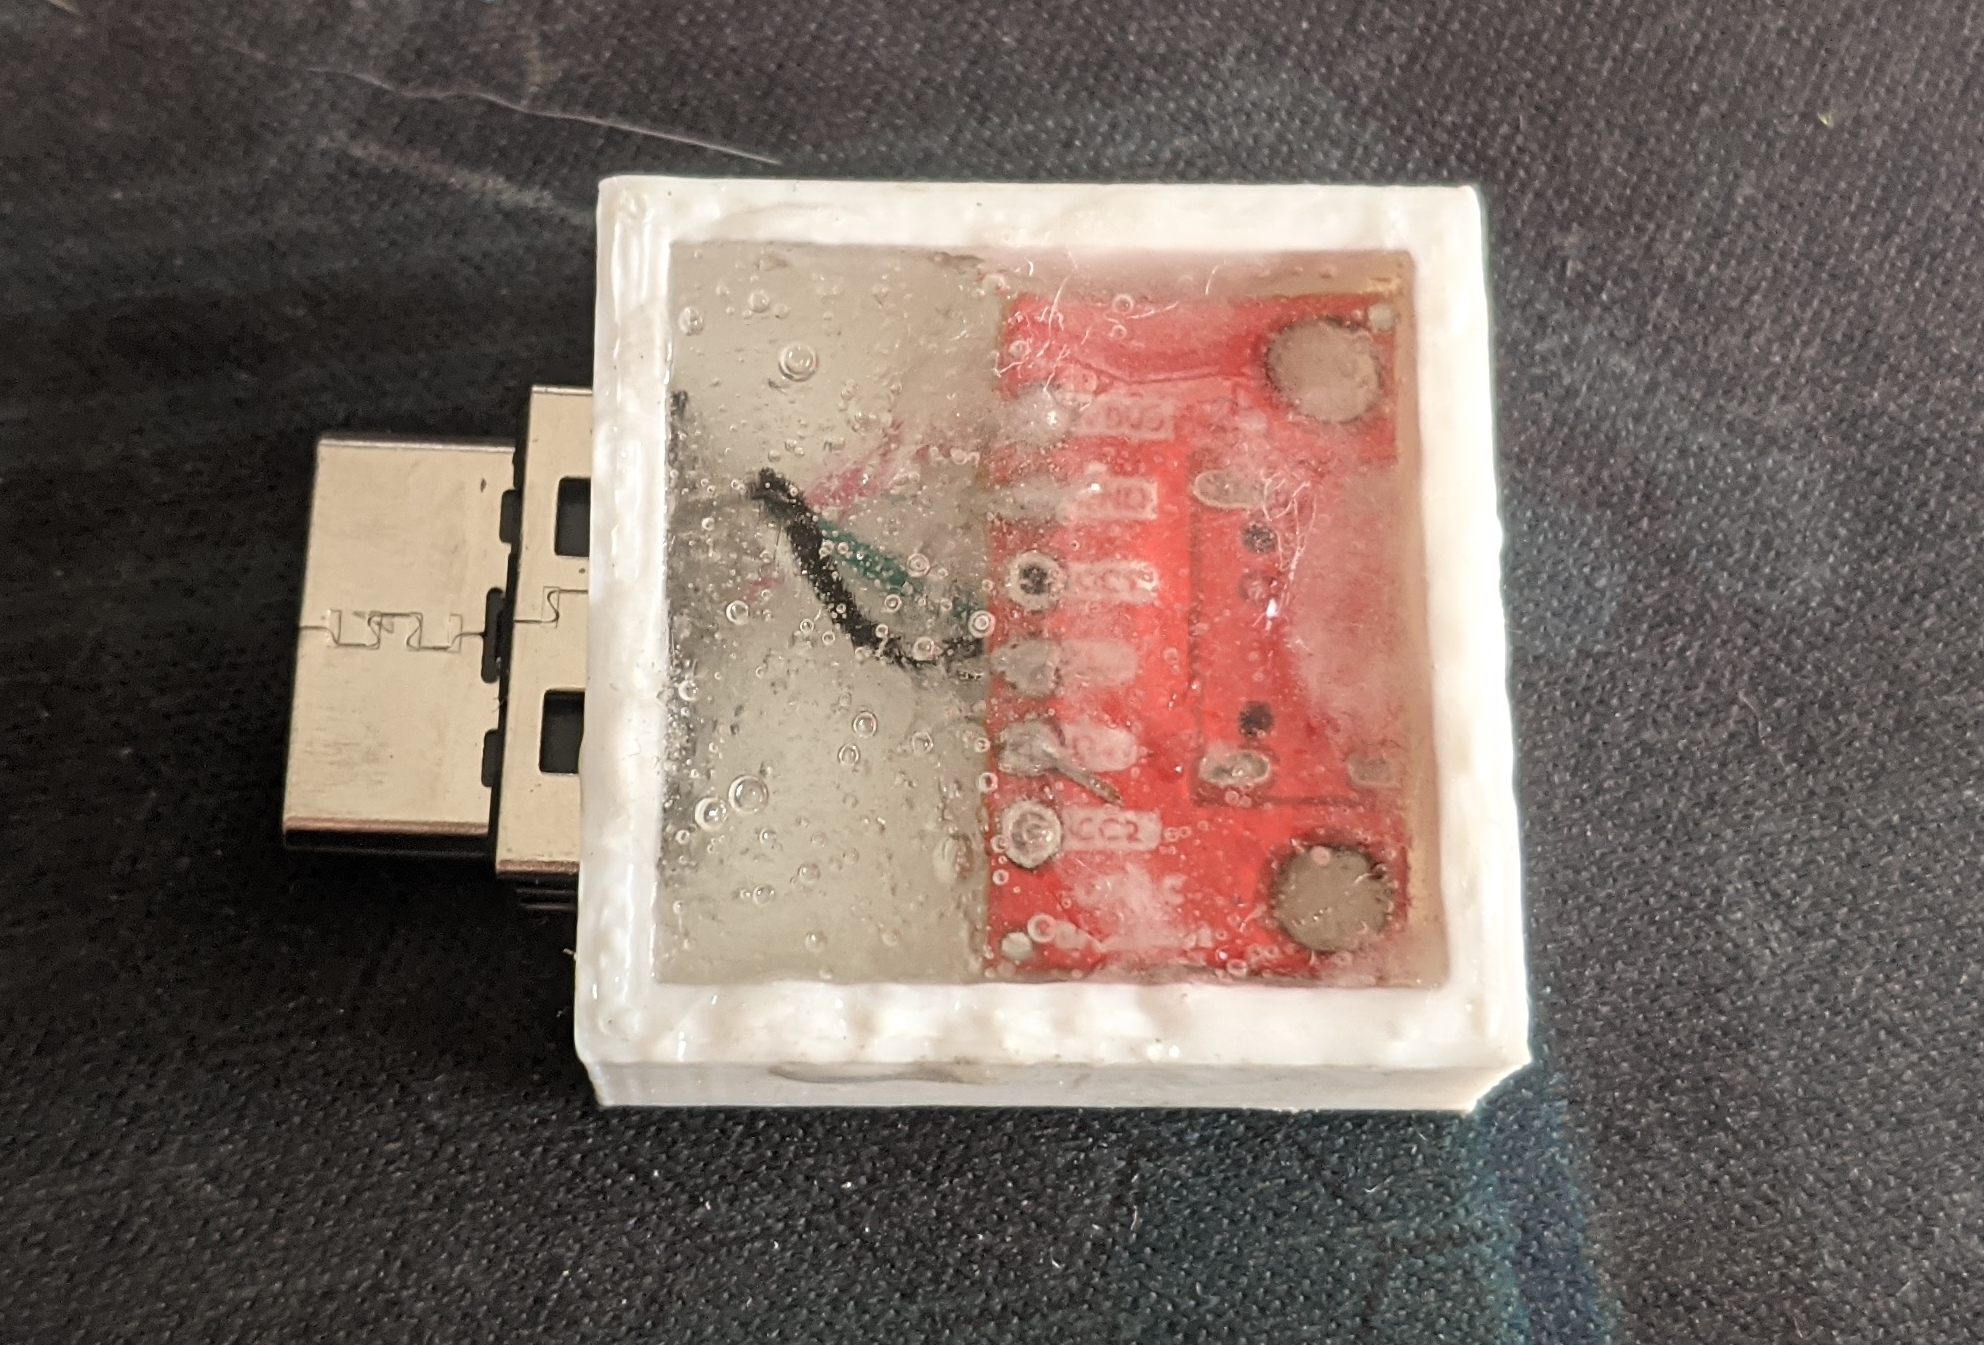
Now, as I was doing this, my plan was to wrap the whole thing in electrical tape as a “housing” and call it done. A friend of mine in close proximity decided that he’d 3D model and print a simple plastic case for it, and that we could house the board, and fill the case with epoxy. That sounded a bit better than my original plan.
After printing, I inserted the board and filled the cavity with epoxy. It might not look pretty and the connectors might be noticeably askew, but it gets the job done.
I’ve yet to take it on any trips, but I have faith that it will hold up to mild damages or strain. The next step may be to cover it in electrical tape, anyway.